Table Of Content

We did not include taste as part of the criteria, since these houses tend to sit around on display before being eaten. Instead, we focused on ease of assembly and decorating. We also paid close attention to the icing quantity, consistency, and color, which are important factors not only for decorating but for assembly as well. This gingerbread house kit from Sweetology wowed us with its décor. It was one of the most fun houses to build (and we've tried a lot!).
20 Best Gingerbread House Kits 2023: Shop Our Holiday Picks - Redbook
20 Best Gingerbread House Kits 2023: Shop Our Holiday Picks.
Posted: Wed, 08 Nov 2023 08:00:00 GMT [source]
Best Gingerbread House Ideas for 2023
Carnival for Good celebrates community’s support of Gingerbread House - KTALnews.com
Carnival for Good celebrates community’s support of Gingerbread House.
Posted: Fri, 19 Apr 2024 14:18:22 GMT [source]
Remember to apply the glue outside of the template line AND inside (Image 17). Make sure all the ingredients are at room temperature. In winter, the butter might still be too cold, so you can keep it in a warmer area to let it warm up and soften more.
Classic Choice

As for the decorations, you'll receive red and white ready-to-use icing, green fondant, and three types of delectable candy. You'll also get decorating bags and a handy instruction sheet. This guide will help you build a festive cookie house like a pro!
Best Cookie Cutter Set
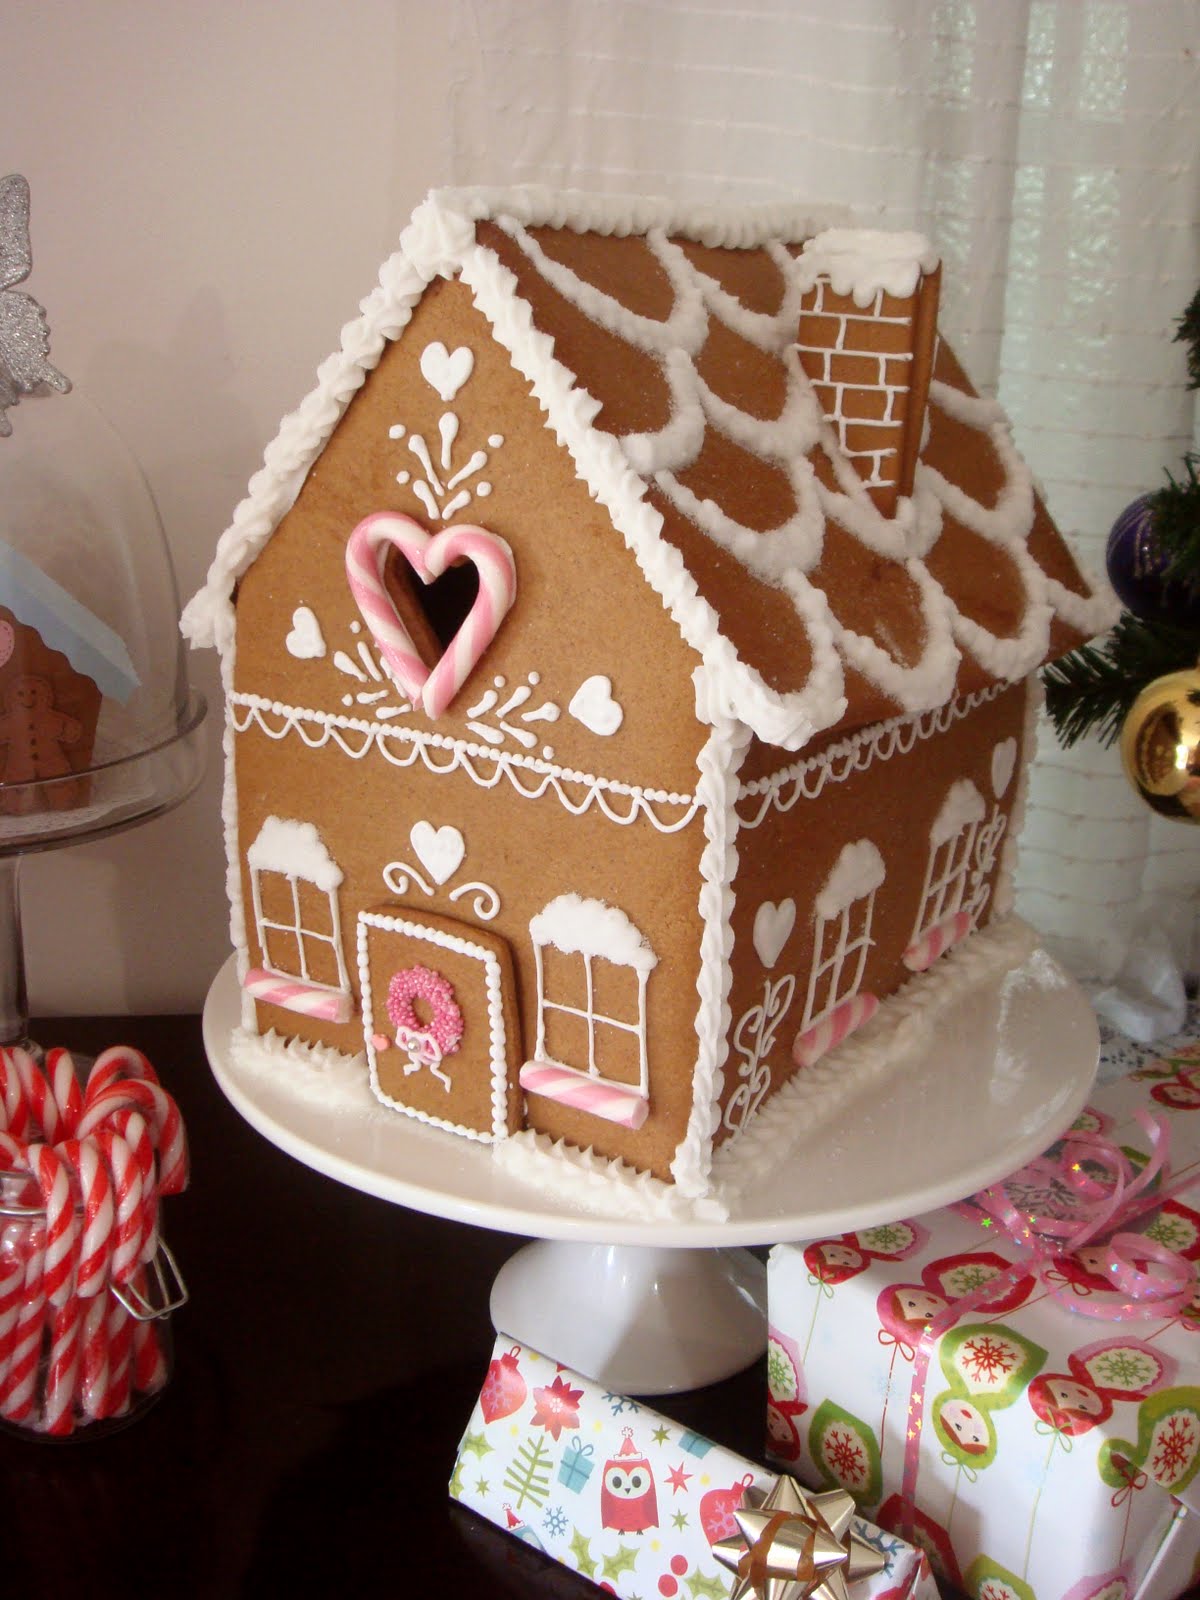
As you can see in these photos, I covered the roof with royal icing before piping the buttercream on. As the royal icing dried, it gently dripped off the sides and looked like snow. Gingerbread house kits are deceptively complicated. You outsource the cookie baking and skip right to assembly with an all-in-one kit that includes everything you need. But often, it’s not a simple, carefree hour of family fun. Instead, you get multiday frustrations of collapsing walls and slow-drying icing.
Roasted Rack of Lamb Recipe
This is such a key ingredient for a classic gingerbread dough! Make sure to use “fancy molasses”, as it has a sweet flavor with deep molassey and slightly acidic flavors. I use less cloves because I find ground cloves can easily overpower the gingerbread house flavors. This time of year is perfect for homemade candy and gift-giving. This brown sugar fudge makes perfect Christmas gifts and it will remind everyone of grandmas homemade candy. To extend the shelf life of your gingerbread house, keep it away from humidity and direct sunlight.
Using a small round tip, make a fun design for the roof. Make a pattern that looks like roof tiles, or use the small tip to add candy to the roof. Continue adding the side walls to the house with icing and hold for a minute. Wait at least 20 minutes for the house to completely cool before building.
Sugar Stained Glass Gingerbread House
The icing is set when the pieces hold steady without sliding apart. Worried you’ll end up with a crumbling, crooked shack, decorations dripping off, misshapen cookie inhabitants looking on with despair? Some require you to supply your own icing, for example. Others suggest having some basics like confectioner's sugar or a piping bag.
Pipe royal icing along the top of the walls and top edges of the front and back of the house panels. Place the royal icing in a large piping bag or a ziploc bag (Image 36). Seal the opening of the piping bag or ziploc bag, making sure to remove as much air as possible. Exposure to air will cause the royal icing to harden. Mix until you get a smooth, thick royal icing mixture (Image 34). The correct consistency should be spreadable but stiff, so that the royal icing will not “run” or spread, but still easily pipeable (Image 35).
Create a Treat Hershey's Gingerbread Kit
Your gingerbread house can last several weeks if stored properly. At night, cover it with plastic wrap to prevent any moisture or bugs getting to it. Another way of getting the walls and roof nice and sturdy is to make "sugar glue," just like the blog Houseful of Handmade recommends. You can stick the house right onto a board covered with aluminum foil and then glue the roof on. No matter your skill level when it comes to Christmas desserts, these helpful gingerbread house tips will lead any home baker to creating nothing short of a masterpiece.
Baking and building one from scratch can be quite time-consuming, however, and you'll need some serious pastry skills. That's why gingerbread kits have become so popular—all you have to do is assemble. Here’s my completely homemade gingerbread house recipe including how to bake, construct, and decorate with royal icing and buttercream. Everything can be prepared in advance, see my make ahead tip after the recipe instructions. House structure must completely set for at least 4-6 hours before decorating.
The kit also includes a substantial bag of icing—more than enough to assemble and decorate—and two piping bags and two different tips (plain and scalloped). You'll want to find a gingerbread house template to make sure your walls and roof are perfectly even. Simply print it out, cut out the pieces, and measure them along your dough. Use a paring knife or X-Acto blade to (carefully!) cut clean lines. Once they've baked, re-cut the shapes so that the sides are nice and sharp.
We'd suggest having some extra icing on hand, and maybe a pastry bag or two. Create a Treat gives this gingerbread kit a skill level of 2 (low-medium easy), and we agree with that assessment. The Bee Gingerbread House Kit is another sturdy interlocking style designed to speed up assembly time. During testing, we were impressed with how seamlessly everything fit together and the large assortment of candies.
With a peppermint window and a marshmallow roof, this house is (almost) too cute to eat. Cut out larger pieces of gingerbread to create a country-style gingerbread barn. With red sour belt shingles and Tootsie Roll siding, this edible rustic log cabin sets the scene for the ultimate sugar-filled winter wonderland.
Of course, you can also turn to tools that do all this work for you. These awesome Gingerbread Pop-Out Cutters simplify the design process in a snap. Just roll your dough, cut out two of each shape, imprint the design, and bake — you’ll have a sweet house that fits together perfectly, no math required!
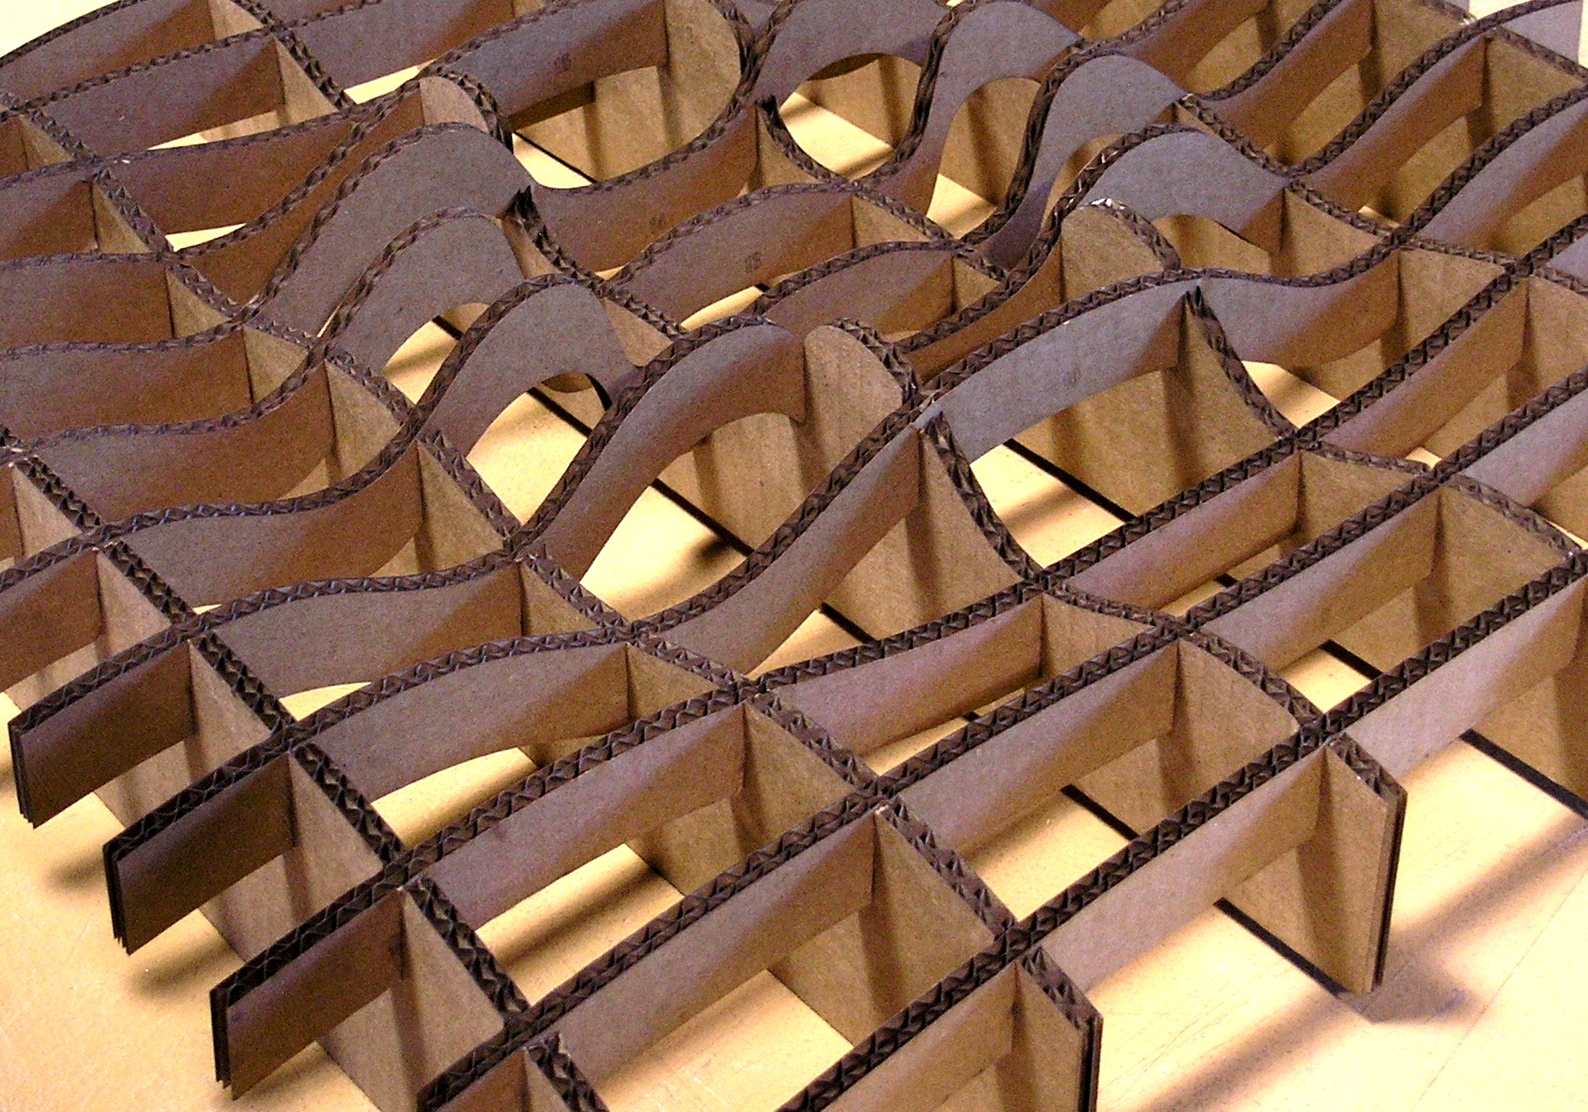
Use dough thickness guide to make it easier to roll out the dough to an even thickness. Place the template on the cardboard and use a bench scraper to make sure that the template is stuck to the board with no bubbles or wrinkles (Image 18). Form each dough portion into a smooth disc, while dusting it with flour to prevent it from sticking (Image 14).
Place the dough in a ziploc bag, and spread the dough evenly inside while removing excess air. I like to keep it as a square so that it’ll be easier to roll out later (Image 15). Once all the flour is added, mix the dough on the lowest speed until it’s almost mixed through (Image 11). The dough might be reaching the top of your bowl, but that’s OK. The mixture might look curdled at this stage and that’s OK. Temperature differences in the ingredients can lead to this, but the dough will come together when the flour is added.


No comments:
Post a Comment